Color Grading for Film Projects
When it comes to delivering a successful film project, the creative team needs access to the tools that let them get the best possible results. One of those tools is color grading, from start to finish. Used correctly, it can give your project a distinct look that sets it apart from the competition.
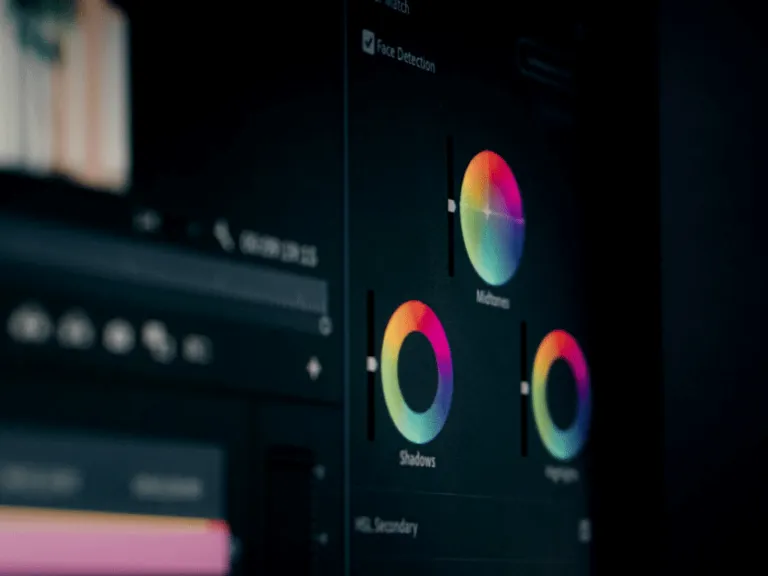
When it comes to delivering a successful film project, the creative team needs access to the tools that let them get the best possible results. One of those tools is color grading, from start to finish. By using color grading, the creative team can make sure the project meets the highest standards and that audiences receive a high-quality product they can be proud of. Used correctly, color grading can give your project a distinct look that sets it apart from the competition — a powerful step, but a complex one. In this blog post, we’ll walk through the different stages of color grading, from start to finish, and look at how to make your color grading a success.
1. Understanding the color grading workflow
Before starting the color grading process on a film project, it’s important to understand the workflow involved. It begins with the director of photography and the director, who decide on the overall look of the project. Next, the editor assembles the raw footage and checks for any technical issues that need fixing. Once editing is complete, the colorist works with the director to refine the look and make sure the images match the director’s vision. Finally, the post-production team handles the last steps, such as creating the final masters and delivering the finished project. Understanding the color grading workflow is essential to making sure the project gets delivered as intended.
2. Researching the different software used for color grading
Before starting your color grading project, it’s important to research the different software available for the job. Different software can deliver different results, with varying capabilities. Among the most popular color grading tools are DaVinci Resolve, Adobe After Effects, and Blackmagic Fusion. Each one has its own strengths, so make sure to weigh the pros and cons of each before choosing the best fit for your project.
3. Getting familiar with color correction and the grading process
Grading is an essential part of the post-production process for any film project, and it’s important to understand the basics of color correction and the grading process before you start. The first step is getting familiar with the tools of the trade, such as the color wheel, scopes, and color hues. Next, you need to be able to identify the different types of shots you’ll be grading and the color corrections each one requires. Finally, practice on a few test runs to get comfortable with the grading process. With a bit of practice and experimentation, you’ll be able to deliver professional color grading, from start to finish, on your next film project.
4. Analyzing the different color spaces and gamma curves used in grading
When color grading a film project, it’s important to analyze the different color spaces and gamma curves used in the process. This ensures the project will look its best, with accurate colors throughout. The color spaces typically used in color grading are Rec.709 or DCI-P3. The gamma curve varies depending on whether the project is intended for television or cinema. Television gamma curves are usually Rec.709 or Rec.2020, while cinema gamma curves are typically PQ or Log. Analyzing the right color space and gamma curve will deliver the best results for the project.
5. Calibrating the monitor to read the image correctly
After making sure your viewing environment is set up and ambient light levels are adjusted, you need to calibrate your monitor. This is an important step, as it ensures the image you’re viewing is being read correctly. You can use a calibration tool such as the X-Rite i1 Display Pro, or a similar device, to set black and white levels, gamma, and color temperature. This gives you a more accurate image and ensures your color grading looks consistent across different devices.
6. Working with color and luminance levels to achieve the desired look
Once you’ve finished the primary grade on your video project, you may need to refine the look further. To do this, you can work with color and luminance levels to achieve the desired look. Luminance levels refer to the brightness of the pixels in a video image. You can adjust shadow, midtone, and highlight levels to give the overall image a more contrasted or flatter look. You can also adjust the saturation and color balance of an image to make it appear more vivid or more muted. By working with these levels, you can make sure the final product matches your creative vision.
7. Rendering, sign-off, and delivery of the graded footage
Once the project has been graded, it’s time for rendering, sign-off, and delivery of the graded footage. Rendering means applying the color grade and other adjustments across the entire project’s footage. This can be done in real time or in batches. Once rendering is complete, the next step is signing off on the project and delivering the graded footage to the client. This can be done in several formats, such as DCP, H.264, ProRes, and others. It’s important to make sure the footage is of the highest quality, since it will ultimately be seen on the big screen.
8. Archiving and backing up the graded footage for future reference
After putting in the work to adjust the color of your footage, it’s important to archive and back up that graded footage for future reference. It can be hard to remember the exact process and settings used during color grading, which is why it’s always a good idea to save the graded footage in case it needs to be referenced later. Backing up the graded footage also lets you quickly compare different shots and grades, and make sure your grading stays consistent throughout the project.
In conclusion, color grading can be a valuable asset for any film project, helping set the tone of the story, draw attention to key elements, and create a beautiful visual experience for the audience. From the start of the project through final delivery, color grading can be the key to creating a visually stunning cinematic experience that stays with your viewers long after the credits roll.